Snapshots in Artica are designed to backup/restore all Artica setting except Network settings and Active Directory parameters.
Snapshots can be used to restore settings from a specific snapshot’s date or can be restored to an other server.
Create a Snapshot
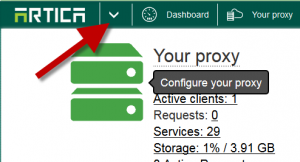
- On the top menu, click on the Arrow icon.
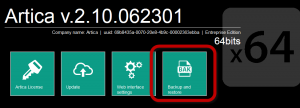
- Select Backup and restore icon
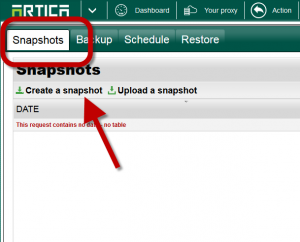
- Under the Snapshots tab, click on Create a snapshot
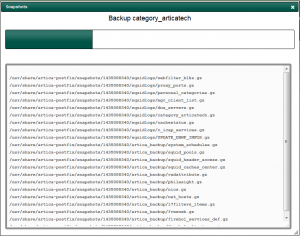
- Wait during the snapshot creation.
- Your new snapshot must be added in the table.
Restore a snapshot
- Select the snapshot you want to restore in the table.
- Click on the restore icon.
Restore a snapshot on a new server.
- On the source server, click on Download icon and save the container
- Do not change the container file name !
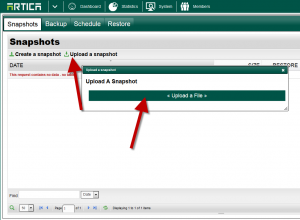
- On the destination server, click on upload a snapshot
- Choose your download file.
- You will find the uploaded snapshot in the table on the new server
- Click on the restore icon.
- Ensure that your browser is not using the proxy because restoring a snapshot will restart the proxy service
Restore a snapshot using the command line
- Push your snapshot to the appliance using WINSCP or using the WebDAV protocol
- Using SSH, logon on the server run the command
php /usr/share/artica-postfix/exec.backup.artica.php --snapshot-file /path/to/snapshot.container
Using the system console
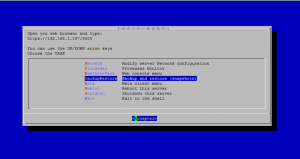
- On the system console, choose Backup and restore (snapshots)
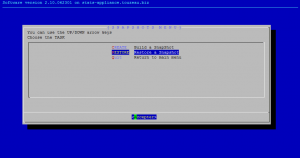
- You can create or restore a snaphost.
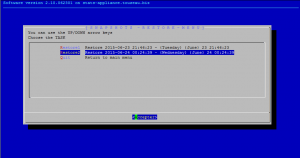
- When select the restore menu, the console list all available snapshot
- Select the snapshot you want to restore.

