The failover with Artica perform automatic switch connections to a backup server according issues, system load, heavy memory on the production server
failover mode is an Active/Passive solution. If you plan to use Active/Active solution, take a look on “Load-balancing” method.
To enable failover, you must have 2 Artica servers.
It is not mandatory to have the 2 same server with same settings only the proxy listen port must be the same:
- If your proxy is on connected mode, use the same listen port.
- If your proxy is on the transparent mode, enable the transparent mode on the backup server.
- Go on the production server and open Artica Web console.
- On the top menu, click on “Proxy service“
- Choose the Failover icon.

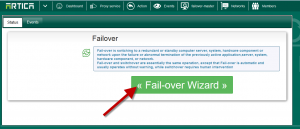
- Click on Fail-over Wizard button
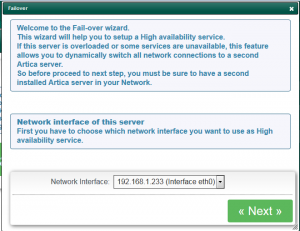
- First select the main interface that will be used to be switched to the backup server.
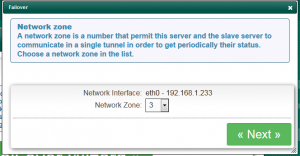
- The Network zone is an ID used to communicate via ARP protocol.
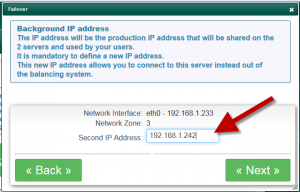
- When the production server is switched the main IP addresse (choosen in step1) will be used by the backup server.
Define here an IP address that will be used to access to the production server when it was in failover mode.
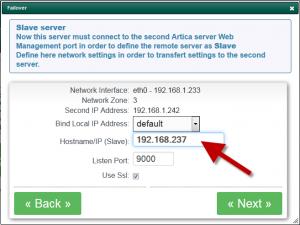
- In the final step, set the IP address of the Artica server that will be the backup server.
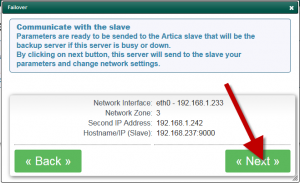
The Artica of the production server will communicate all settings to the Artica of the backup server.
Make sure that the https Artica web console port is available on the second server.
- Click on Next to perform the link procedure.
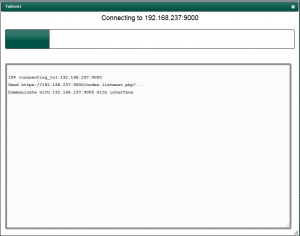
- A windows will display the link tasks
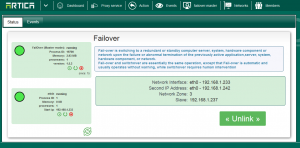
- When done, you must see all services UP and running.

