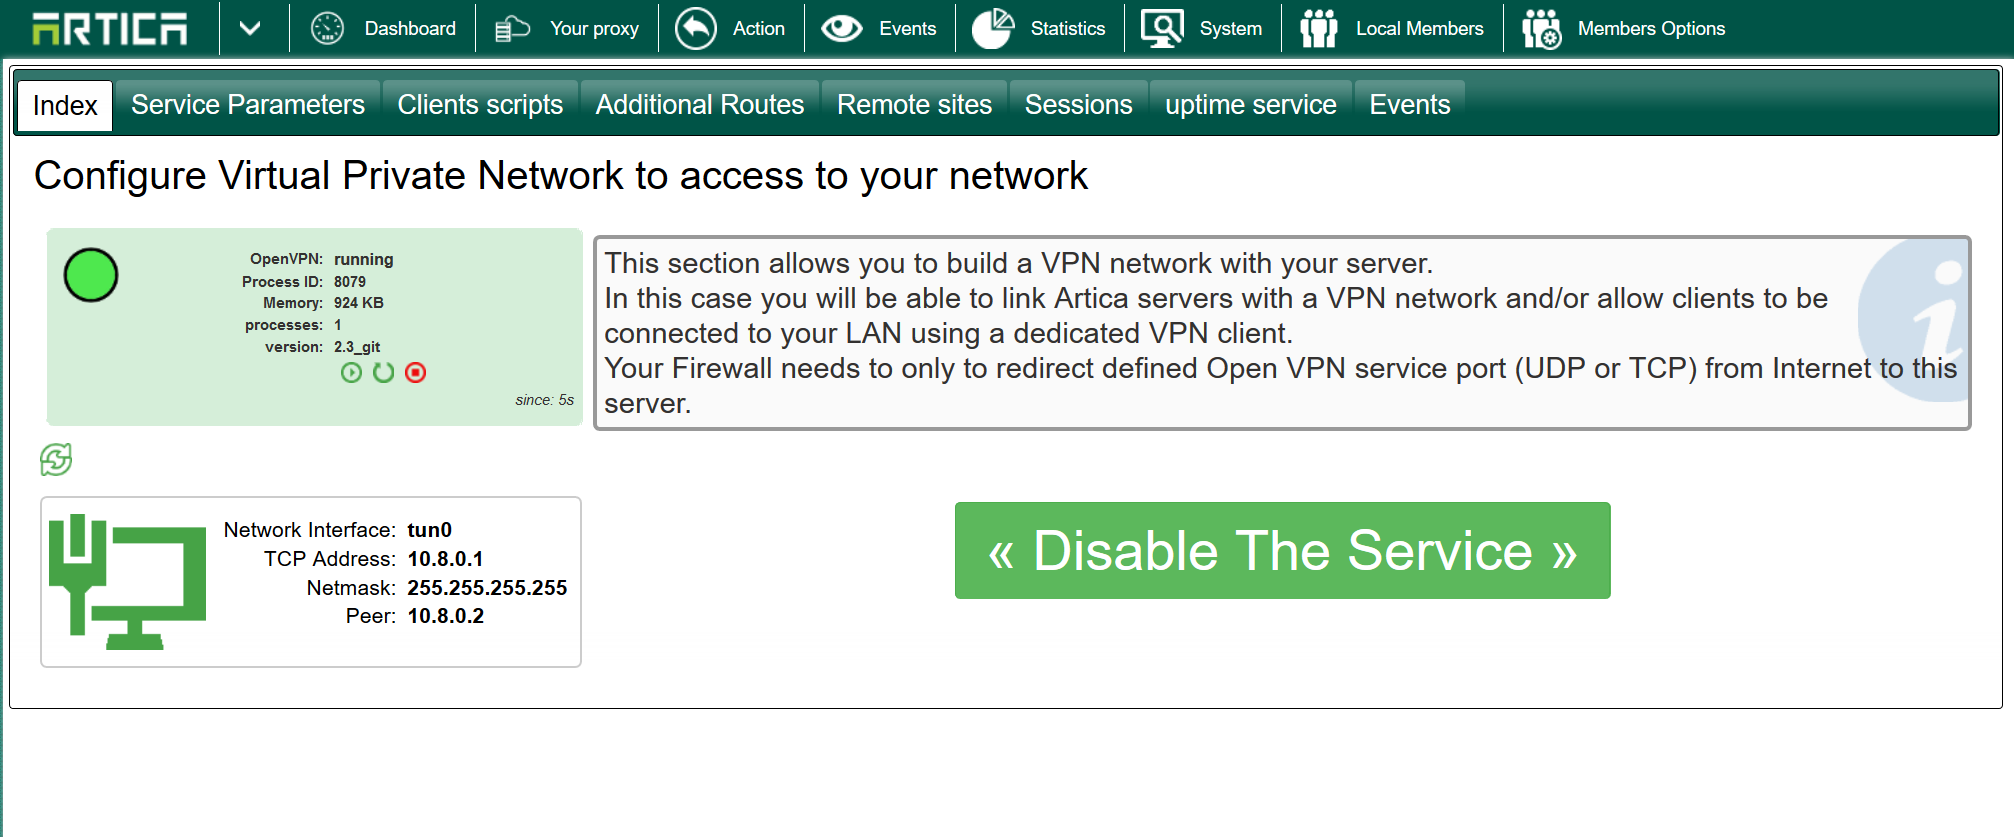
The VPN server can handle both remote Artica servers to link remote sites and roaming users.
It allows users to be connected to the local networks outside the company.
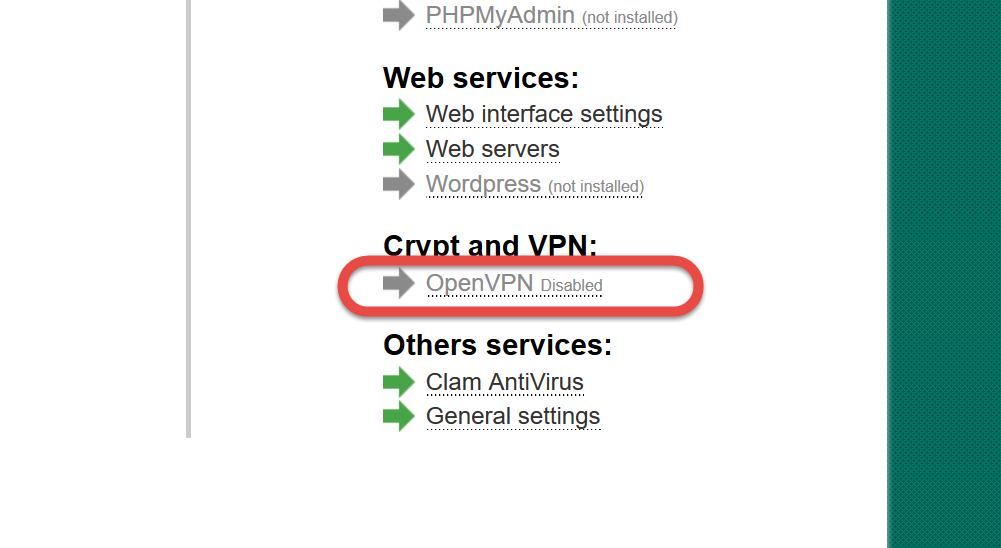
- Go into System top menu
- Click on OpenVPN grey link
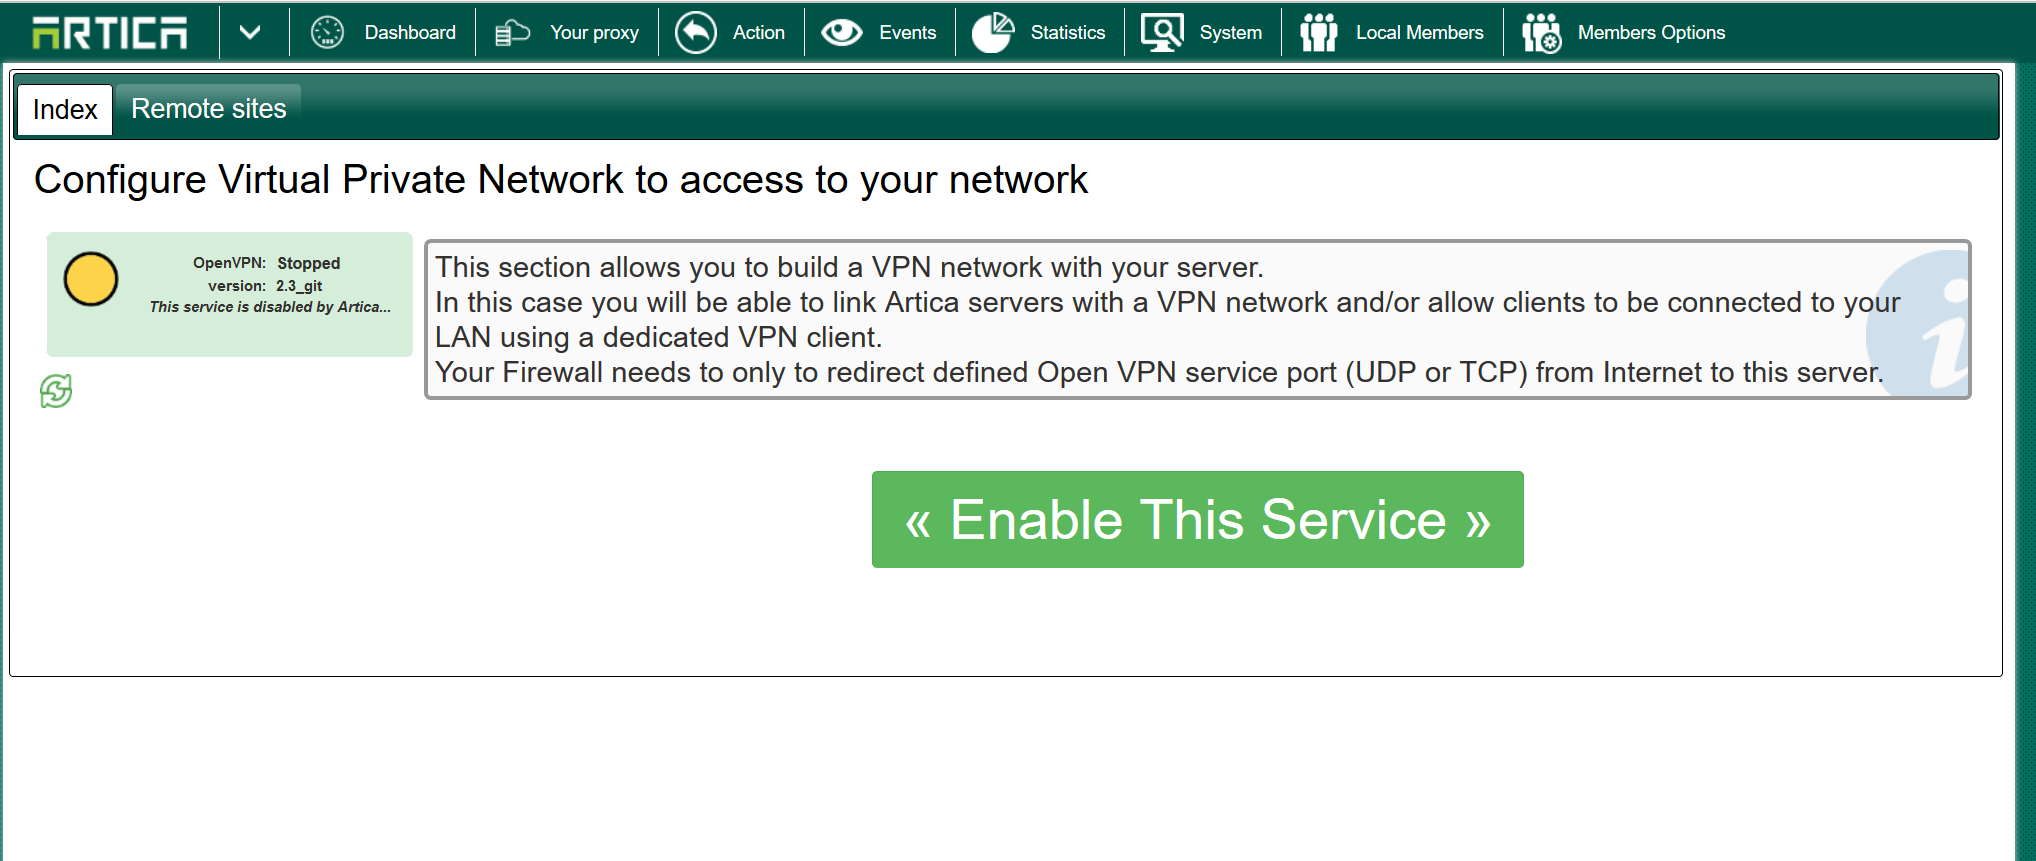
- Click on the main button Enable this service to launch the wizard.
- The first step is to create a certificate in order to build a secure connection.
- Click on Create a Self-signed Certificate button
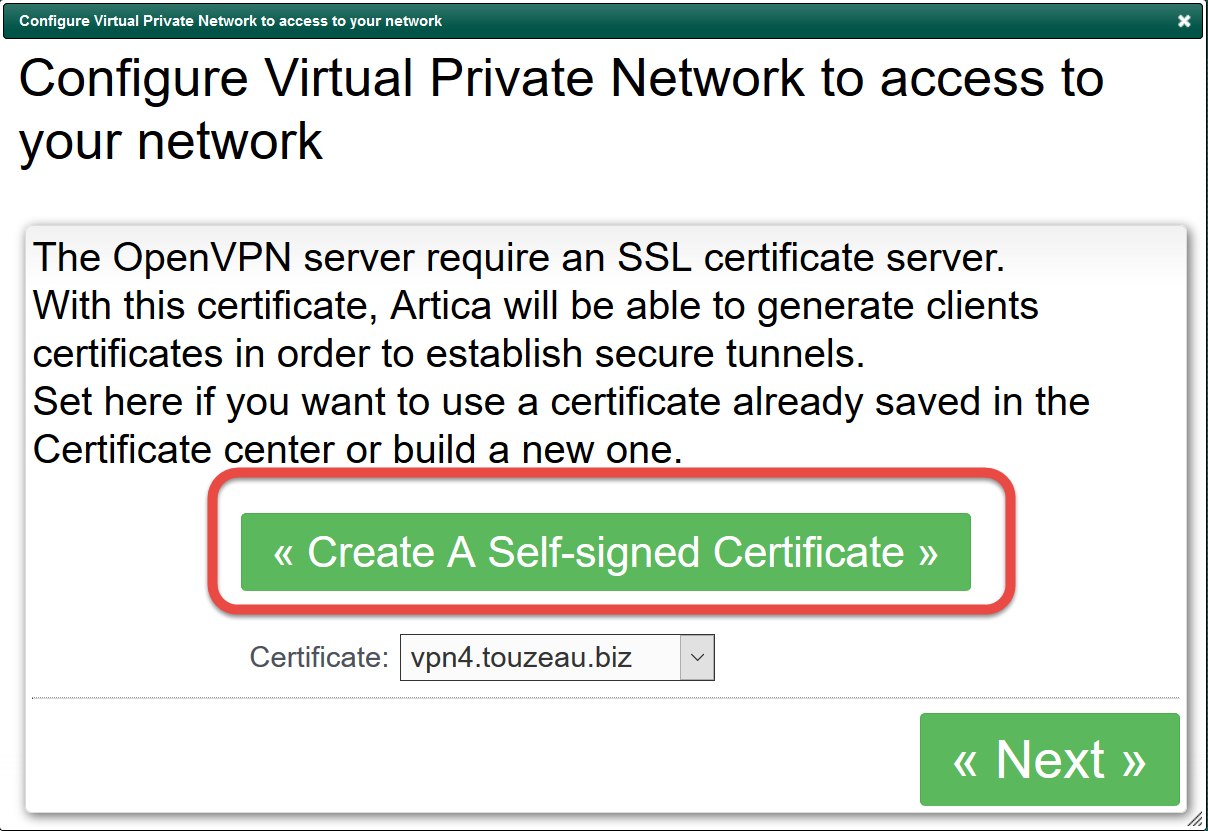
- Give the certificate name ( must be different of the server name )
- Set certificate details
- Click on Add button

- The VPN server will act as DHCP server when users establish a connection.
- Set the network that will be serve by the VPN DHCP service.
- It must be different than the local network.

- Artica is able to build OpenVPN client settings.
The most important value is to known how to reach the VPN server port ( by default UDP 1194 ).
Set the public IP address in order to allow OpenVPN clients to reach the server. - Click on Build button

- Wait during the build configuration task
- Interface will be refreshed and allows to disable the service if you did not want to use the VPN service.