Artica is able to manage the PowerDNS software.
This DNS service is not installed by default.
Install the PowerDNS package
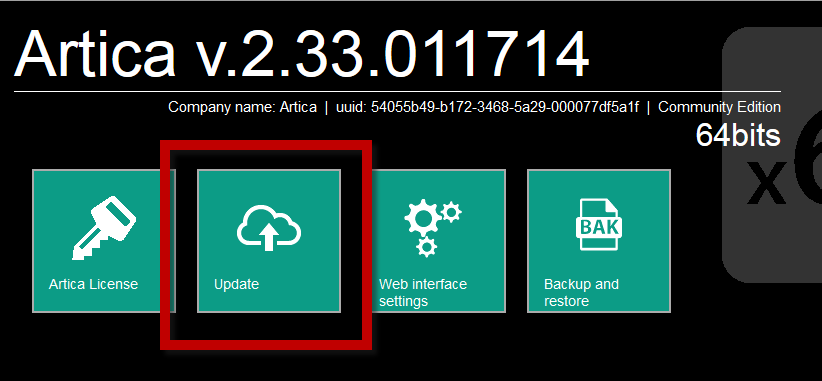
- On the Top menu, click on the Arrow.

- Choose Update icon
- Choose Softwares tab.
- Click on Manual Update buton
- Click on Supported Softwares link.

- Choose on the Artica Repository server the PowerDNS package and download it.
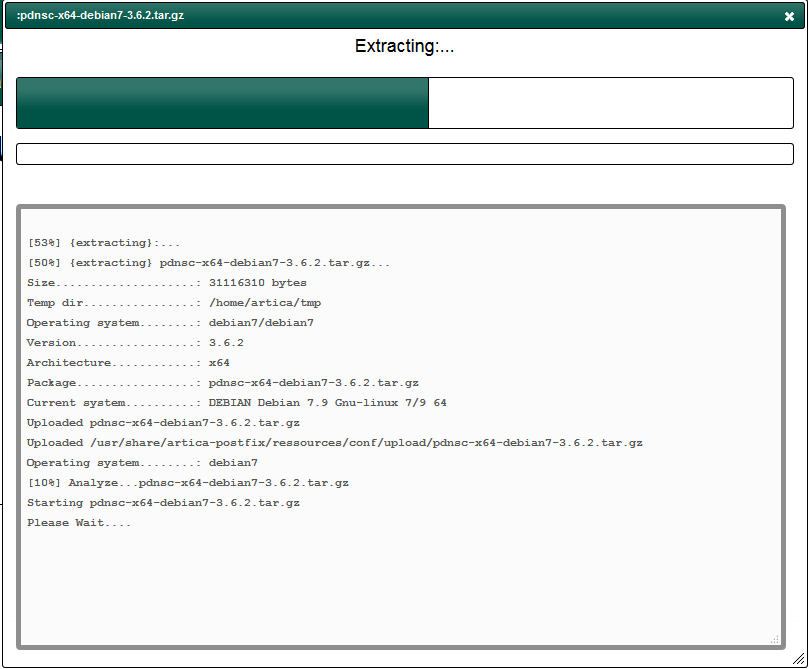
- Click on Upload file button to upload the PowerDNS package.

- Wait during the installation.
Configure the Web front-end.
- Click on the “System” top menu.
- Select the Web servers link.

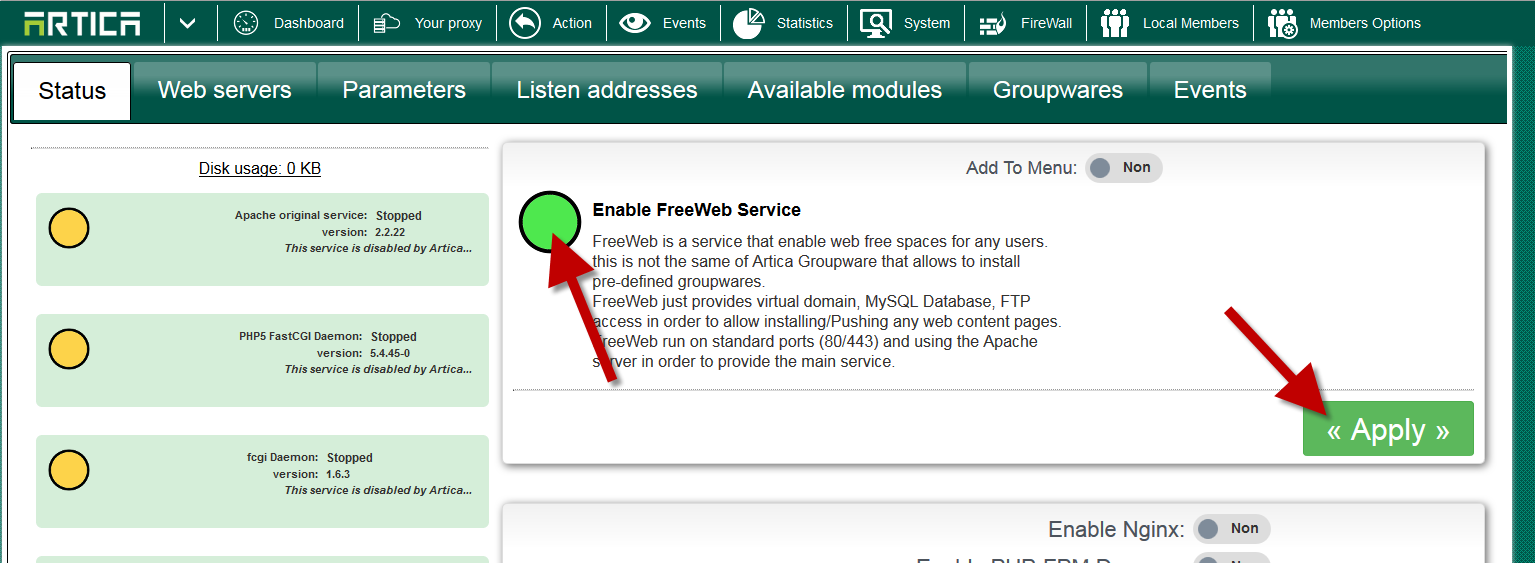
- Enable the FreeWebs service.
- Select “Web servers” tab.
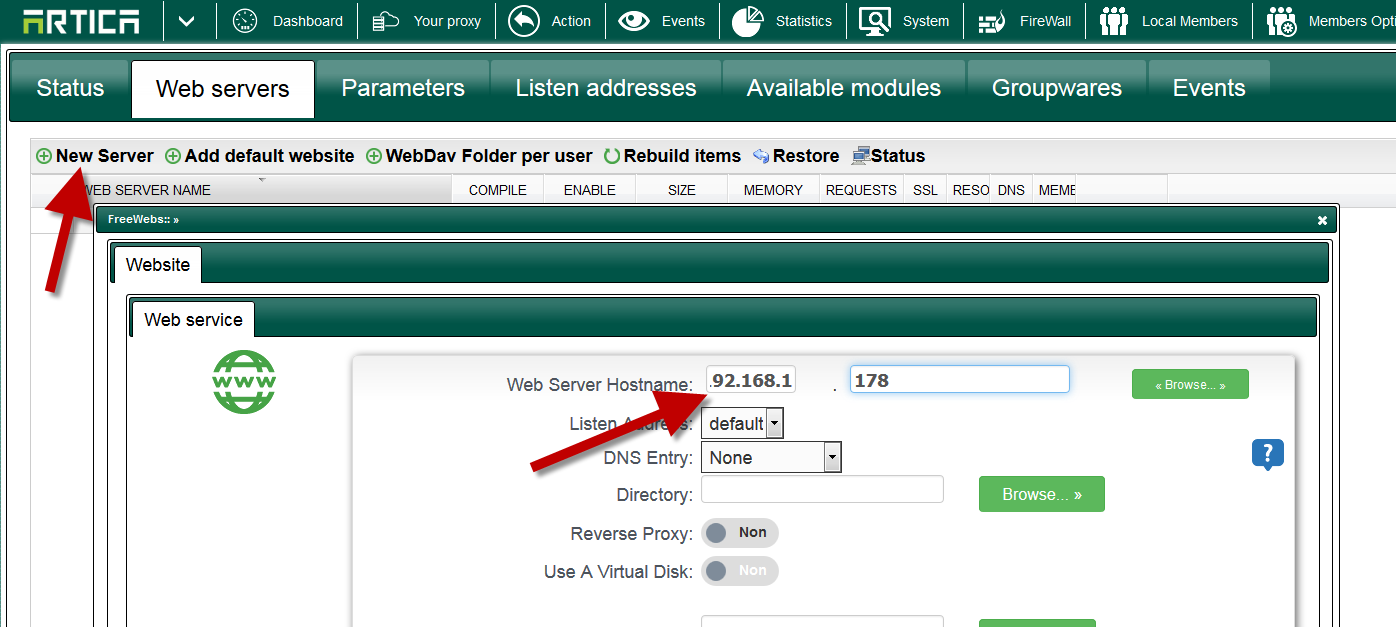
- Click on New server button.
- Give the hostname of your new PowerDNS website console.
- Click on Add button.
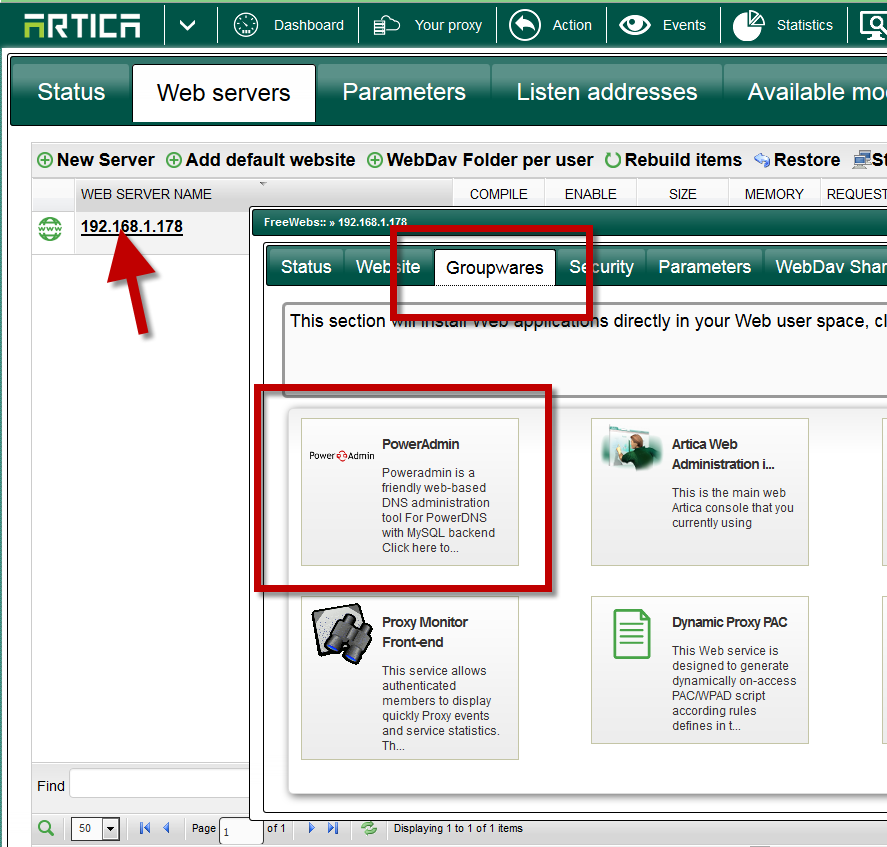
- Select the created web server link in the table.
- Choose “Groupwares“
- Click on “PowerAdmin” icon
- On the Main table, click on compile on your new PowerAdmin website.

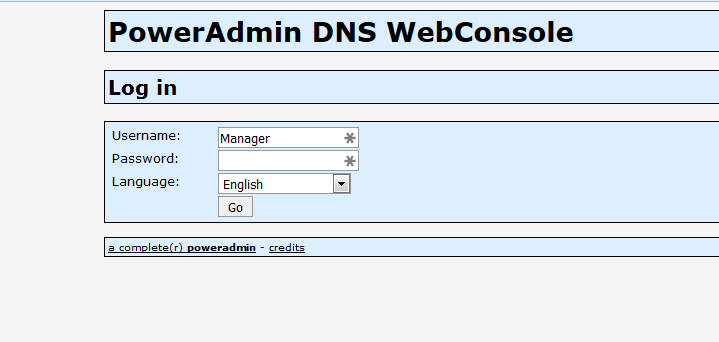
- Enter on the PowerAdmin website
- Type the Artica Manager and password account. ( same “Manager” account used with Artica )