A Virtual switch allows you to create Virtual Network Interface that are able to use the main physical interface to communicate with your networks.
It is intended that there is no sense to use virtual switch when using Artica on a “virtual machine” such as VMWare because the virtualization system already allows you to create unlimited Network Interfaces.
It can be useful if you have installed Artica on a physical machine that did not have required number of Interfaces.
Create a Virtual Switch
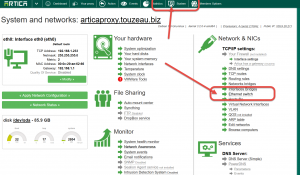
- Click on the System TOP menu button.
- Click on Ethernet Switch link.
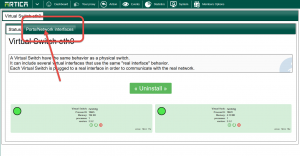
On the desired Physical network Interface card, Click on Install the Virtual Switch button.
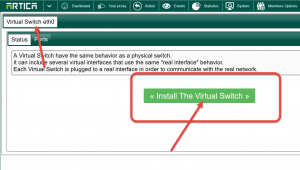 Your virtual Switch is installed and hook the main defined physical Interface
Create a new Network Interface
- Click on Ports/Network Interfaces tab.
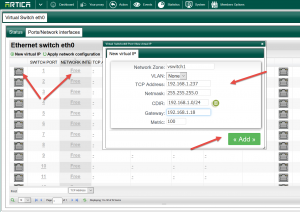
- Will see a table with 32 available port. Each port can handle a Virtual Interface.
- Click on a free/grey port and add your new Interface settings.
Notice: The Virtual Interface act as a real Network Interface, so be careful on the routing.
We suggest to use “Routing rules” if your Virtual interface is in the same sub-net of the real network interface.
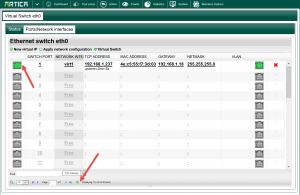
- Click on the refresh button on the table.
- Your new Interface icon must be turned to green that means the Network Interface is available and running.

